How to Use the Calendar App on Your iPhone
This article may contain affiliate links. If you make a purchase through these links, we may earn a small commission at no extra cost to you. This helps us keep creating free content.
The Calendar app is already on every iPhone, free, and built to hold your appointments, birthdays, and reminders in one place you can check from your pocket. Its icon is a small white square that shows today's day and date, so it changes every morning. Once you learn to add an event and set an alert, the iPhone will quietly remind you of the dentist, a grandchild's birthday, or the bin collection, so you never have to keep it all in your head.
Nothing you do in Calendar can break your phone or cost money. Adding, changing, and deleting events are all simple taps you can undo. The app also works alongside Siri and your email, so an appointment a relative sends you can drop straight into your calendar. This page shows you, button by button, how to open it, add events, set helpful reminders, and read your week at a glance.
Finding and opening the Calendar app
Look on your home screen for the white square icon that displays the day of the week along the top in red, with today's number in large black figures below. Because it shows the real date, it looks slightly different each day, but the white square shape stays the same. Tap it once to open the app. If you cannot see it, swipe down from the middle of the home screen, type "calendar" into the search box that appears, and tap the result.
When Calendar opens, you usually land on the month view, a grid of the current month with small dots on days that already have events. Across the top you may see arrows or the word Today. Tapping Today always jumps you back to the present day, which is useful if you have scrolled away and feel lost. Nothing on this screen will be deleted by tapping around, so explore freely.
Adding your first event
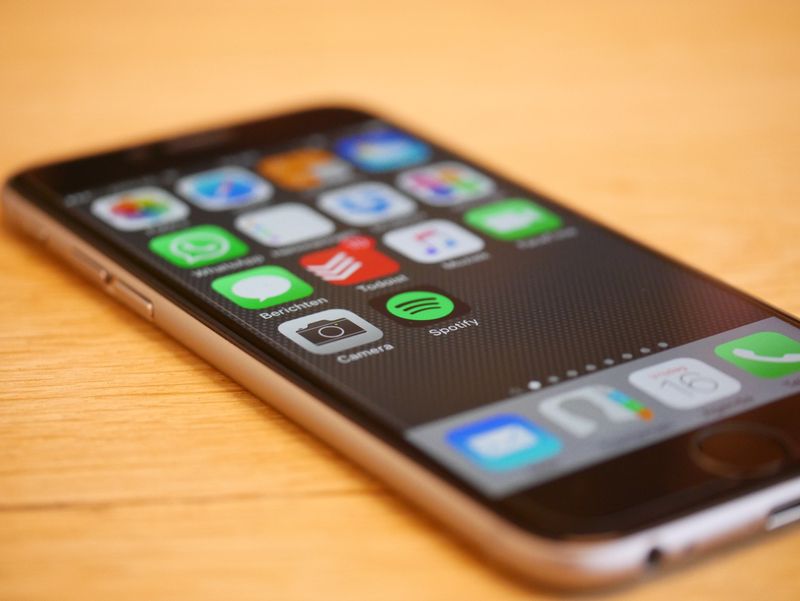
Apple iPhone SE
The most affordable iPhone, with a familiar feel and the longest software support.
* Affiliate link. We may earn a commission at no extra cost to you.
Adding an appointment takes four taps and a little typing. The plus sign that starts it lives in the top-right corner of the screen. Follow these steps and you will have your first event saved in under a minute.
- Tap the plus sign (+) in the top-right corner. A New Event screen slides up.
- Tap the Title line at the top and type what the event is, such as "Dentist" or "Margaret's birthday".
- Tap the Starts row and use the spinning wheels or calendar that appears to set the date and time.
- Tap Add in the top-right corner to save it. The event now appears on that day.
If you make a mistake, do not worry. You can tap any saved event to open it, tap Edit in the top-right, change anything, and save again. To remove an event completely, open it, scroll to the bottom, and tap the red Delete Event. The phone asks you to confirm, so you cannot delete something by a single accidental tap.
Setting a reminder alert so you never forget
The reminder, called an alert, is what makes Calendar so useful, because the phone buzzes or chimes before the event so it cannot slip your mind. When you are adding or editing an event, scroll down to the Alert row and tap it. A list of choices appears, such as At time of event, 15 minutes before, 1 hour before, and 1 day before. Tap the timing that suits you, then save the event.
For appointments you must leave the house for, a one-hour or one-day alert gives you time to get ready. For birthdays, a one-day-before alert reminds you to send a card. You can even add two alerts to the same event, for example one day before and one hour before, by tapping the Second Alert row that appears after you set the first. The phone shows the reminder on your lock screen and plays your chosen sound.
Reading your day, week and month
Calendar can show your time in different ways, and switching between them helps you plan. The month view, with its grid of numbered squares, is best for seeing the whole month and spotting busy weeks. Tapping any single day opens the day view, a list of that day's events laid out by hour, which is the clearest way to see what is happening and when.
| View | Best for | How to reach it |
|---|---|---|
| Day | Seeing one day hour by hour | Tap a single date in the month grid |
| Week | Planning the next few days | Turn the phone sideways in day view |
| Month | Spotting busy or free weeks | Tap the month name at the top-left |
| List / Search | Finding a specific event | Tap the magnifying glass, top-right |
To find a particular appointment quickly, tap the small magnifying-glass icon in the top-right corner and type a word from its title, such as "doctor". Calendar lists every matching event so you can tap straight to it. This is far faster than scrolling through months, especially for something planned far ahead.

Letting Siri and email do the typing
You do not have to type events at all if you prefer to speak. Press and hold the side button, or say "Hey Siri" if you have that turned on, then say a plain sentence such as "Add dentist on Thursday at 3pm". Siri creates the event for you and reads it back. This is the quickest method when your hands are busy or the keyboard feels fiddly.
When a family member emails you an invitation, or a confirmation arrives for an appointment, the iPhone often underlines the date in blue. Tap that blue date and the phone offers to create a calendar event from it, filling in the details automatically. You just confirm. These shortcuts mean much of your calendar can fill itself, leaving you only to glance at it each morning.
Repeating events and all-day entries
Some things happen on the same day every week, such as a bridge club or a video call with the grandchildren, and you do not want to type them in over and over. When you add or edit an event, scroll down to the Repeat row and tap it. You can choose Every Week, Every Month, or Every Year, and the event will then appear automatically on every future date. A weekly choir practice entered once will show up every week without any more effort from you.
Birthdays and holidays usually have no particular time, so they work best as all-day events. When adding one, tap the switch next to All-day so it turns green, and the time pickers disappear. The event then sits neatly across the top of that day rather than at a specific hour. For a birthday, set Repeat to Every Year and you will be reminded faithfully every year from now on, which is a small kindness to your future self.
To stop a repeating event, open any one of its dates, tap Edit, and change Repeat back to Never, or tap Delete and choose whether to remove just that one occurrence or all of them. The phone always asks which you mean, so you cannot wipe out a whole series by mistake. This makes it safe to experiment with repeating entries until they suit you.
If you and a partner want to see the same appointments, or an adult child helps manage your diary, you can share a calendar so both people see and add the same events. This is optional and entirely under your control. You would set it up by tapping the Calendars button at the bottom of the screen, tapping the small circled-i next to a calendar's name, and choosing Add Person to send them an invitation by email.
The person you invite gets a message, and once they accept, any event either of you adds shows up for both. It is a tidy way for a couple to avoid double-booking, or for a family member to add a hospital appointment they have arranged on your behalf. You can stop sharing at any time from the same screen, and the other person is simply removed without losing your own events. Only people you deliberately invite can ever see your calendar.
A simple routine to build the habit
The Calendar app only helps if you actually put things into it, so begin with the appointments you already know. Spend ten quiet minutes adding the next few birthdays, any medical appointments, and one regular weekly event such as a club or church service. Give each one a one-day-before alert. That single sitting turns the app from empty to properly useful.
After that, add new things the moment you agree to them, while the phone is in your hand. Over a fortnight, checking your day each morning becomes second nature, and the worry of forgetting something quietly fades. The iPhone is doing the remembering, and all you do is glance and tap.
🛠️ Free tools for this topic
No sign-up. They do the calculating and checking for you.
Published by the TechGranddad editorial team. Published July 29, 2026.
Editorial responsibility: see Imprint.
Spotted an error or have something to add? corrections@techgranddad.com
Simple Tech Tips, Weekly
One practical tip every week — video calls, smartphone tricks, and how to stay safe online. No jargon, no overwhelm.
🎁 Free bonus: The Senior Tech Starter Guide (PDF)
You might also like
How to Use Apple Photos on iPhone and iPad
A clear, step-by-step guide to the iPhone Photos app: finding pictures, iCloud backup, editing, sharing albums and recovering deleted photos.
How to Install an App on Your iPhone: A Calm, Step-by-Step Guide
A calm, step-by-step guide to installing apps on your iPhone using the App Store, including how to spot fakes and sign in for the first time.
How to Set Up Email on Your iPhone: Gmail, Outlook, iCloud and More
A clear step-by-step guide to adding any email account to your iPhone, including the quick automatic way, manual server settings, app passwords and common fixes.
📖 All articles on TechGranddad →
Browse our other articles